Example: AMC X86i
A complete setup for the AMC X86i 6-zone / 8-source amplifier, from cable to dashboard. The same steps apply to the AMC X86, XO and XOi (pick their profile instead).
Everything on this page was verified against a real X86i over RS-232.
What you need
| Part | For this example |
|---|---|
| Amplifier | AMC X86i with its RS-232 port (rear panel, item 8 in the AMC manual — a standard DB9 connector; AMC lists RS-232 as an option on some units) |
| Home Assistant machine | Raspberry Pi 4 or 5 (2 GB+ RAM), A2 microSD 32 GB+ or USB SSD, official power supply, Home Assistant OS |
| Adapter | USB-to-RS232 (DB9 male, FTDI chip recommended) — not a USB-to-TTL adapter |
| Cable | Straight-through DB9 serial cable from the adapter to the X86i (tested; no null-modem adapter needed) |
| Software | Home Assistant with HACS and Audio Control installed (steps 2–4) |
Full details and alternatives: Hardware requirements.
You don't need to set any serial settings — choosing AMC X86 / X86i takes care of them.
Serial settings (for reference)
38400 baud, 8 data bits, no parity, 1 stop bit, no flow control — from AMC's RS-232 manual.
1. Connect the cable

- Plug the USB adapter into the Home Assistant machine.
- Connect a straight-through DB9 serial cable from the adapter to the X86i's RS232 port.
- Power the X86i on.
2. Find the connection
Go to Settings → Connectivity → Serial and copy the adapter's name — the one that
starts with /dev/serial/by-id/, for example
/dev/serial/by-id/usb-FTDI_FT232R_USB_UART_A10XXXXX-if00-port0
(Older Home Assistant: Settings → System → Hardware → ⋮ → All hardware, search "serial". Docker users: see Docker / Container installs.)
3. Add the amplifier
Settings → Devices & services → Add integration, search Audio Control, then:
- Device:
AMC X86 / X86i - Connection: the path from step 2
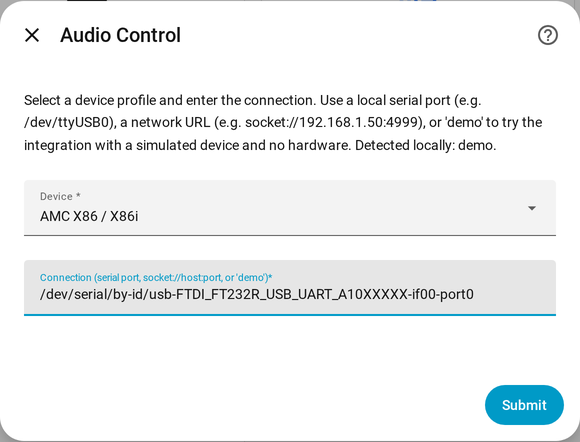
Click Submit. Audio Control connects to the amplifier and creates:
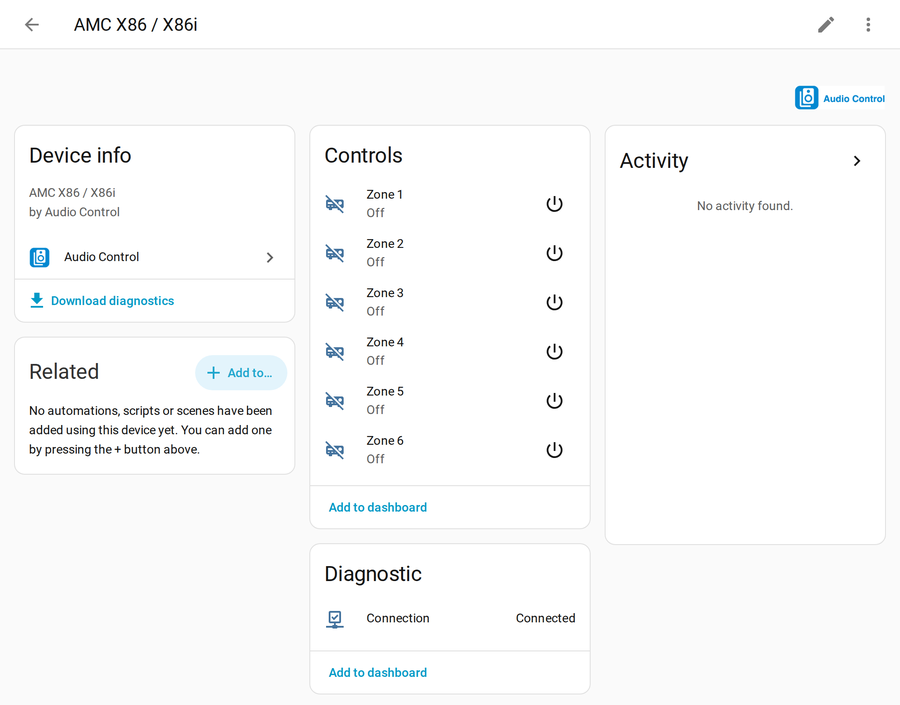
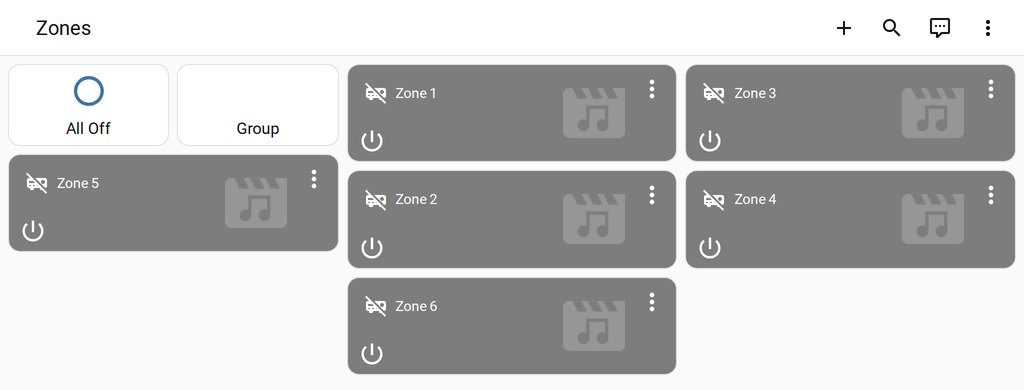
- 6 zones — each one a player with power, volume, mute and source
- 1 connection indicator — shows whether the amplifier is answering
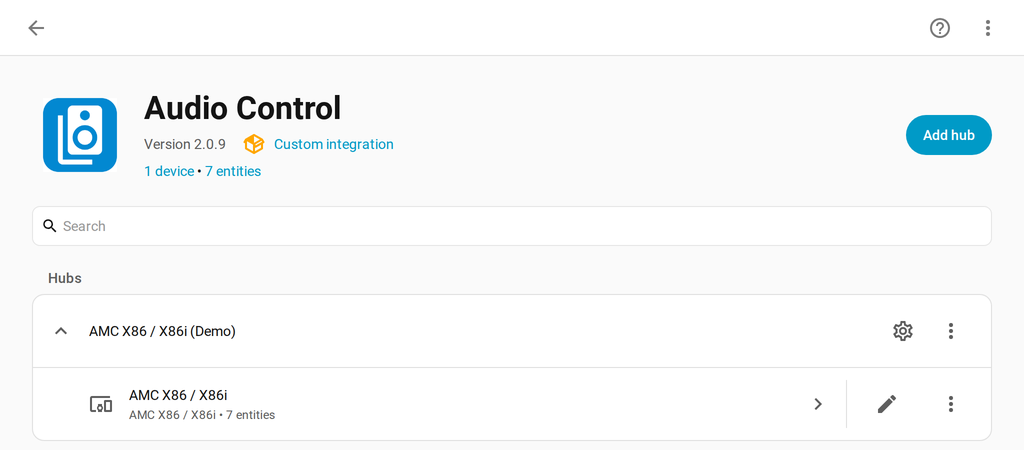
No amplifier yet?
Enter demo as the connection to get the same entities with a simulated X86i.
Later, open the device's ⋮ → Reconfigure and enter the real port — nothing else
changes.
4. Name your zones and sources
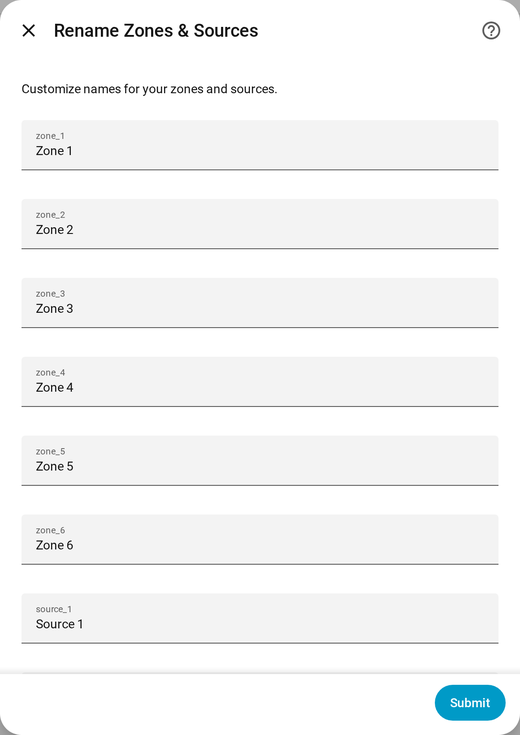
Click the gear icon next to the amplifier and replace Zone 1…6 and Source 1…8 with real names (Kitchen, Patio, Streamer, TV…).
5. Use it
Each zone works like a smart speaker in Home Assistant — on dashboards, in the phone app, with voice assistants and in automations.
Good to know about the X86i:
| Feature | How it behaves |
|---|---|
| Volume | Shown as a normal 0–100 % slider |
| Keypads and remote | Changes made there show up in Home Assistant too |
| Bass / treble | Levels −8, −6, −4, 0, +4, +6, +8 (no ±2), and only while the zone is on (how) |
| All zones off | One action turns every zone off (how) |
| Group mode | Every room plays the same source (how) |
| Muted vs off | Shown correctly |
Example automation — warmer sound in the kitchen at dinner:
- alias: Kitchen dinner EQ
  triggers:
    - trigger: time
      at: "18:30:00"
  conditions:
    - condition: state
      entity_id: media_player.kitchen   # your zone 1 entity
      state: "on"                       # tone needs the zone on
  actions:
    - action: audio_control.set_bass
      target:
        entity_id: media_player.kitchen
      data:
        level: 4
If it doesn't work
| Symptom | Check |
|---|---|
| Connection shows Disconnected | Adapter path, cable seated, amplifier powered. The X86i needs a straight-through cable — a null-modem cable or adapter will not work |
| Connected, but zones never change | Wrong model selected in Device, or another program is using the adapter |
| Older X86 units | Handled automatically |
More in Troubleshooting.