4. Install Audio Control
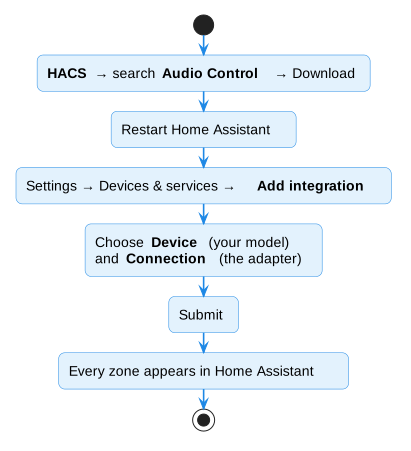
Download it from HACS
- Click HACS in the Home Assistant sidebar.
- Search for Audio Control and open it.
- Click Download, then Download again to confirm.
- Restart Home Assistant: Settings → System → ⏻ (top right) → Restart Home Assistant.
Or click this button to jump straight to it:

Add your amplifier
-
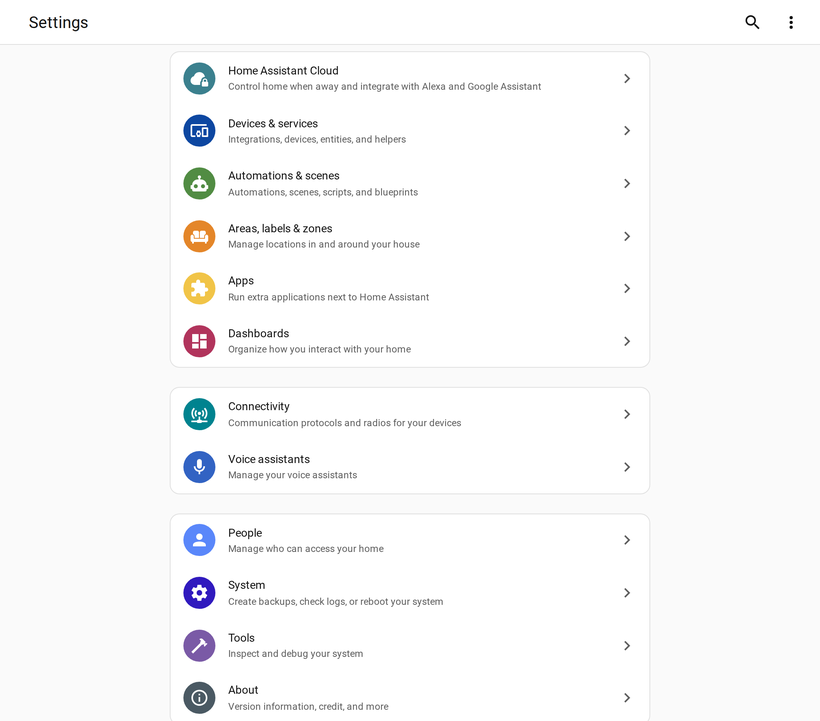
Go to Settings, then Devices & services.
-
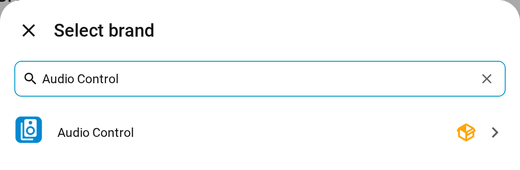
Click Add integration (bottom right), type Audio Control, and click it.
-
Fill in the form:
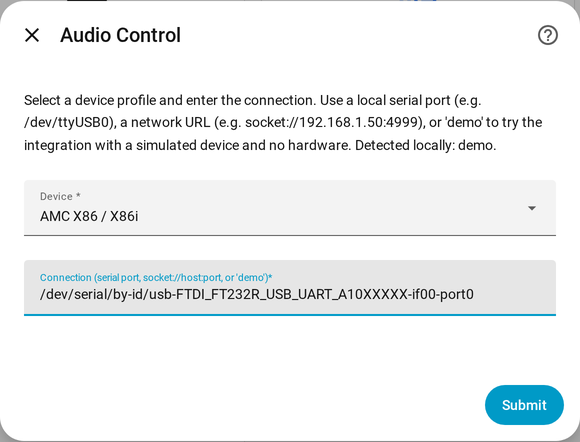
- Device — choose your amplifier's model from the list.
- Connection — the USB adapter. Home Assistant usually lists it for you under
Detected locally; it looks like
/dev/serial/by-id/usb-FTDI_.... How to find it.
-
Click Submit.
That's it — each zone now appears in Home Assistant. Next, give them proper names: Names & settings.
Try it without the amplifier
Type demo in Connection to get a pretend amplifier. Everything works the
same, so you can set up your dashboard first. Switch to the real connection later
(how).
Finding the connection
Go to Settings → Connectivity → Serial. It lists the USB adapters Home Assistant
can see. Copy the one that starts with /dev/serial/by-id/.
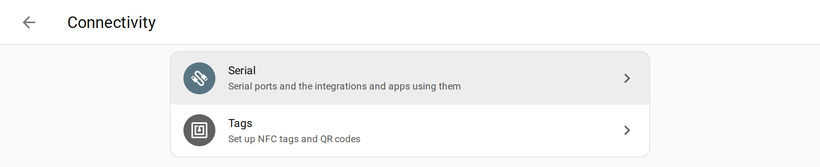
(Older Home Assistant versions: Settings → System → Hardware → ⋮ → All hardware, then search for "serial".)
Nothing listed? See Help & troubleshooting.
Updates
When a new version comes out, HACS shows an update for Audio Control. Click Update, then restart Home Assistant.