Quickstart
Control your amplifier from Home Assistant in five steps. Each step links to a more detailed guide if you get stuck.
You'll need
- Your amplifier (for example an AMC X86i)
- A Raspberry Pi 4 or 5 with its official power supply
- A USB-to-RS232 adapter and a serial cable (DB9)
- About 1 hour
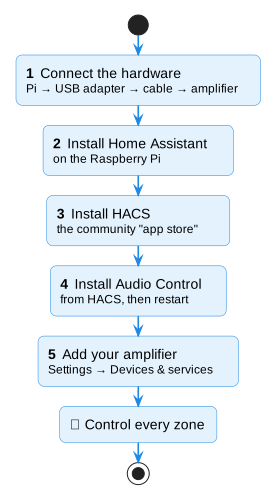
Step 1 — Connect the hardware
Plug the USB adapter into the Raspberry Pi, and the serial cable from the adapter into the RS232 port on the back of the amplifier.
Step 2 — Install Home Assistant
Install Home Assistant OS on the Raspberry Pi by following the official guide. When it's done you open Home Assistant in your web browser.
Step 3 — Install HACS
HACS is a free "app store" for Home Assistant add-ons made by the community. Audio Control is installed from there.
Step 4 — Install Audio Control
In Home Assistant open HACS, search for Audio Control, click Download, and restart Home Assistant.
Step 5 — Add your amplifier
- Go to Settings → Devices & services → Add integration.
-
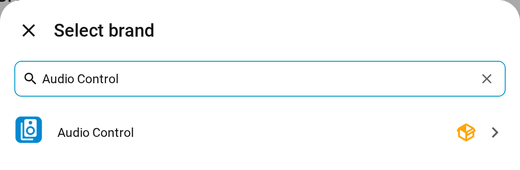
Search for Audio Control and click it.
-
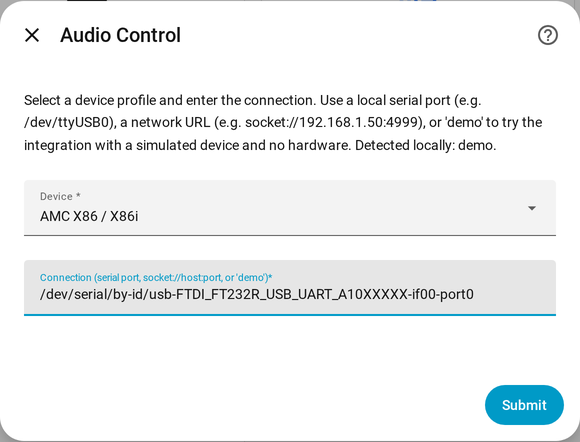
Choose your amplifier in the Device list, and pick its port in Connection.
-
Click Submit.
Done — each zone of your amplifier now appears in Home Assistant, ready to switch on, turn up and change source.
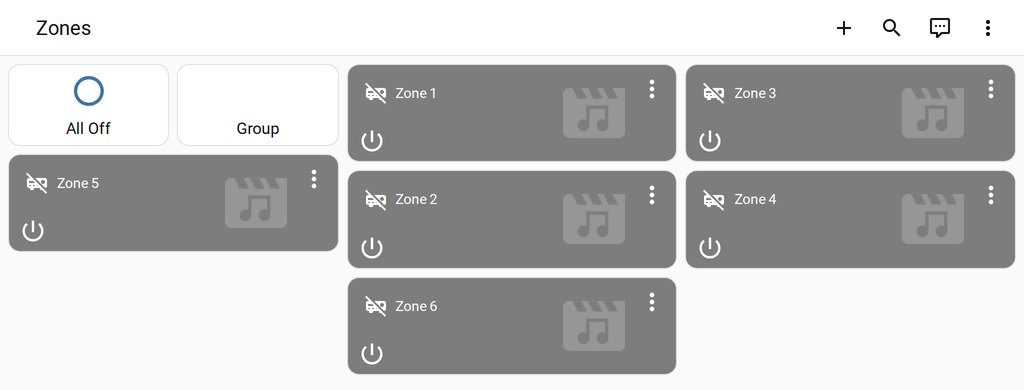
No amplifier connected yet?
Type demo in Connection to try everything with a pretend amplifier. You can
switch to the real one later.
Next: rename your zones and sources, or see the full AMC X86i example.